

Top Ag News Stories
Todd's Take
4/19/2024 | 6:19 AM CDT

Selling More European Food to Americans
4/18/2024 | 3:14 PM CDT
Settlement Talks Ongoing in AltEn Case
4/18/2024 | 2:06 PM CDT
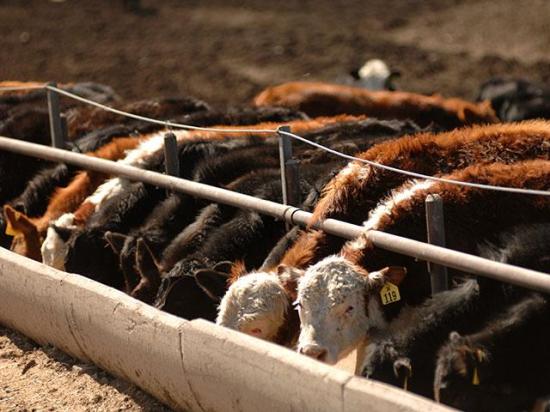
USDA Cattle on Feed Report Preview
4/18/2024 | 11:47 AM CDT
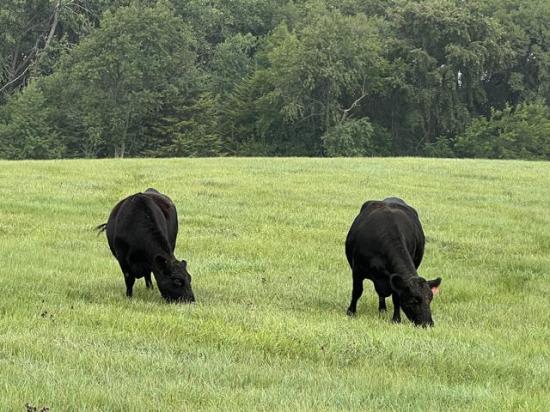
Pastures Can Thrive Even After Drought
4/18/2024 | 2:38 PM CDT
-
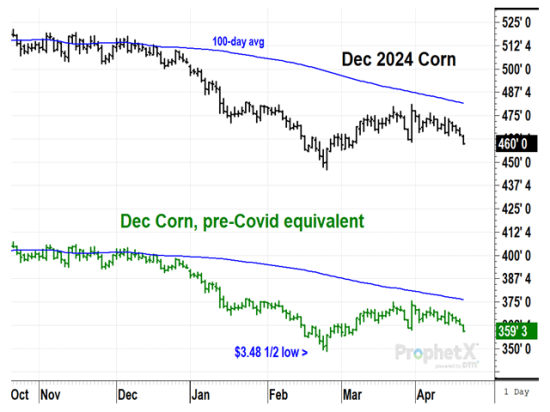
Getting Perspective on 2024 New-Crop Corn Prices
-
EU Looks for Trendy Americans to Give European Foods a Taste
-
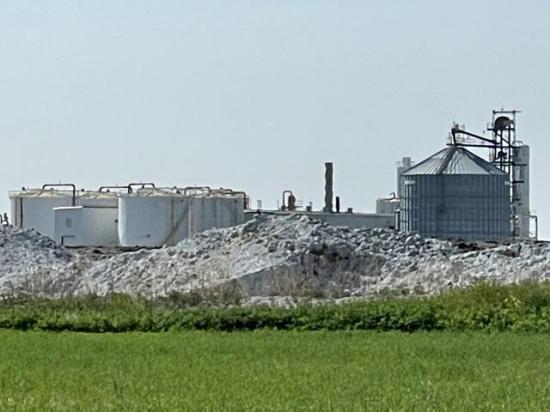
Seed Companies, AltEn Continue Settlement Talks on Nebraska Ethanol Plant
-
April 1 Cattle on Feed Report Expected To Be Neutral to Market
-
Tips to Help Extend Your Pastures for Cattle During and After Droughts
DTN Market Headlines

-
USDA Weekly Crop Progress Report
USDA Crop Progress: Winter Wheat Condition Holds Steady at 56% Good to Excellent
-
Data, Markets and NASS Reports
Producers, Others Raise Concerns Over NASS Dropping Midyear Cattle Report
-
Technically Speaking Blog
Corn Price Outlook Stays Bearish in Early 2024
-
Cash Market Moves
Railroads Protest Federal Railroad Administration Two-Person Crew Rule
More Recommended for You
Ag Futures
DTN Featured Blogs & Columns
South America Calling

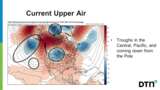
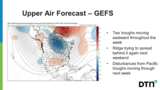
Ag Weather Forum


Sponsored Spotlights
DIM[0x0] LBL[] SEL[] IDX[] TMPL[] T[]
DIM[0x0] LBL[] SEL[] IDX[] TMPL[] T[]
DIM[1x3] LBL[home-page-native] SEL[] IDX[] TMPL[standalone] T[]
5-Day Weather
Outlook
Want to save your postal code for future use?
DTN 360 Poll
The DTN 360 Poll is not available at this time.
DIM[1x3] LBL[home-page-native 2] SEL[] IDX[] TMPL[standalone] T[]

